
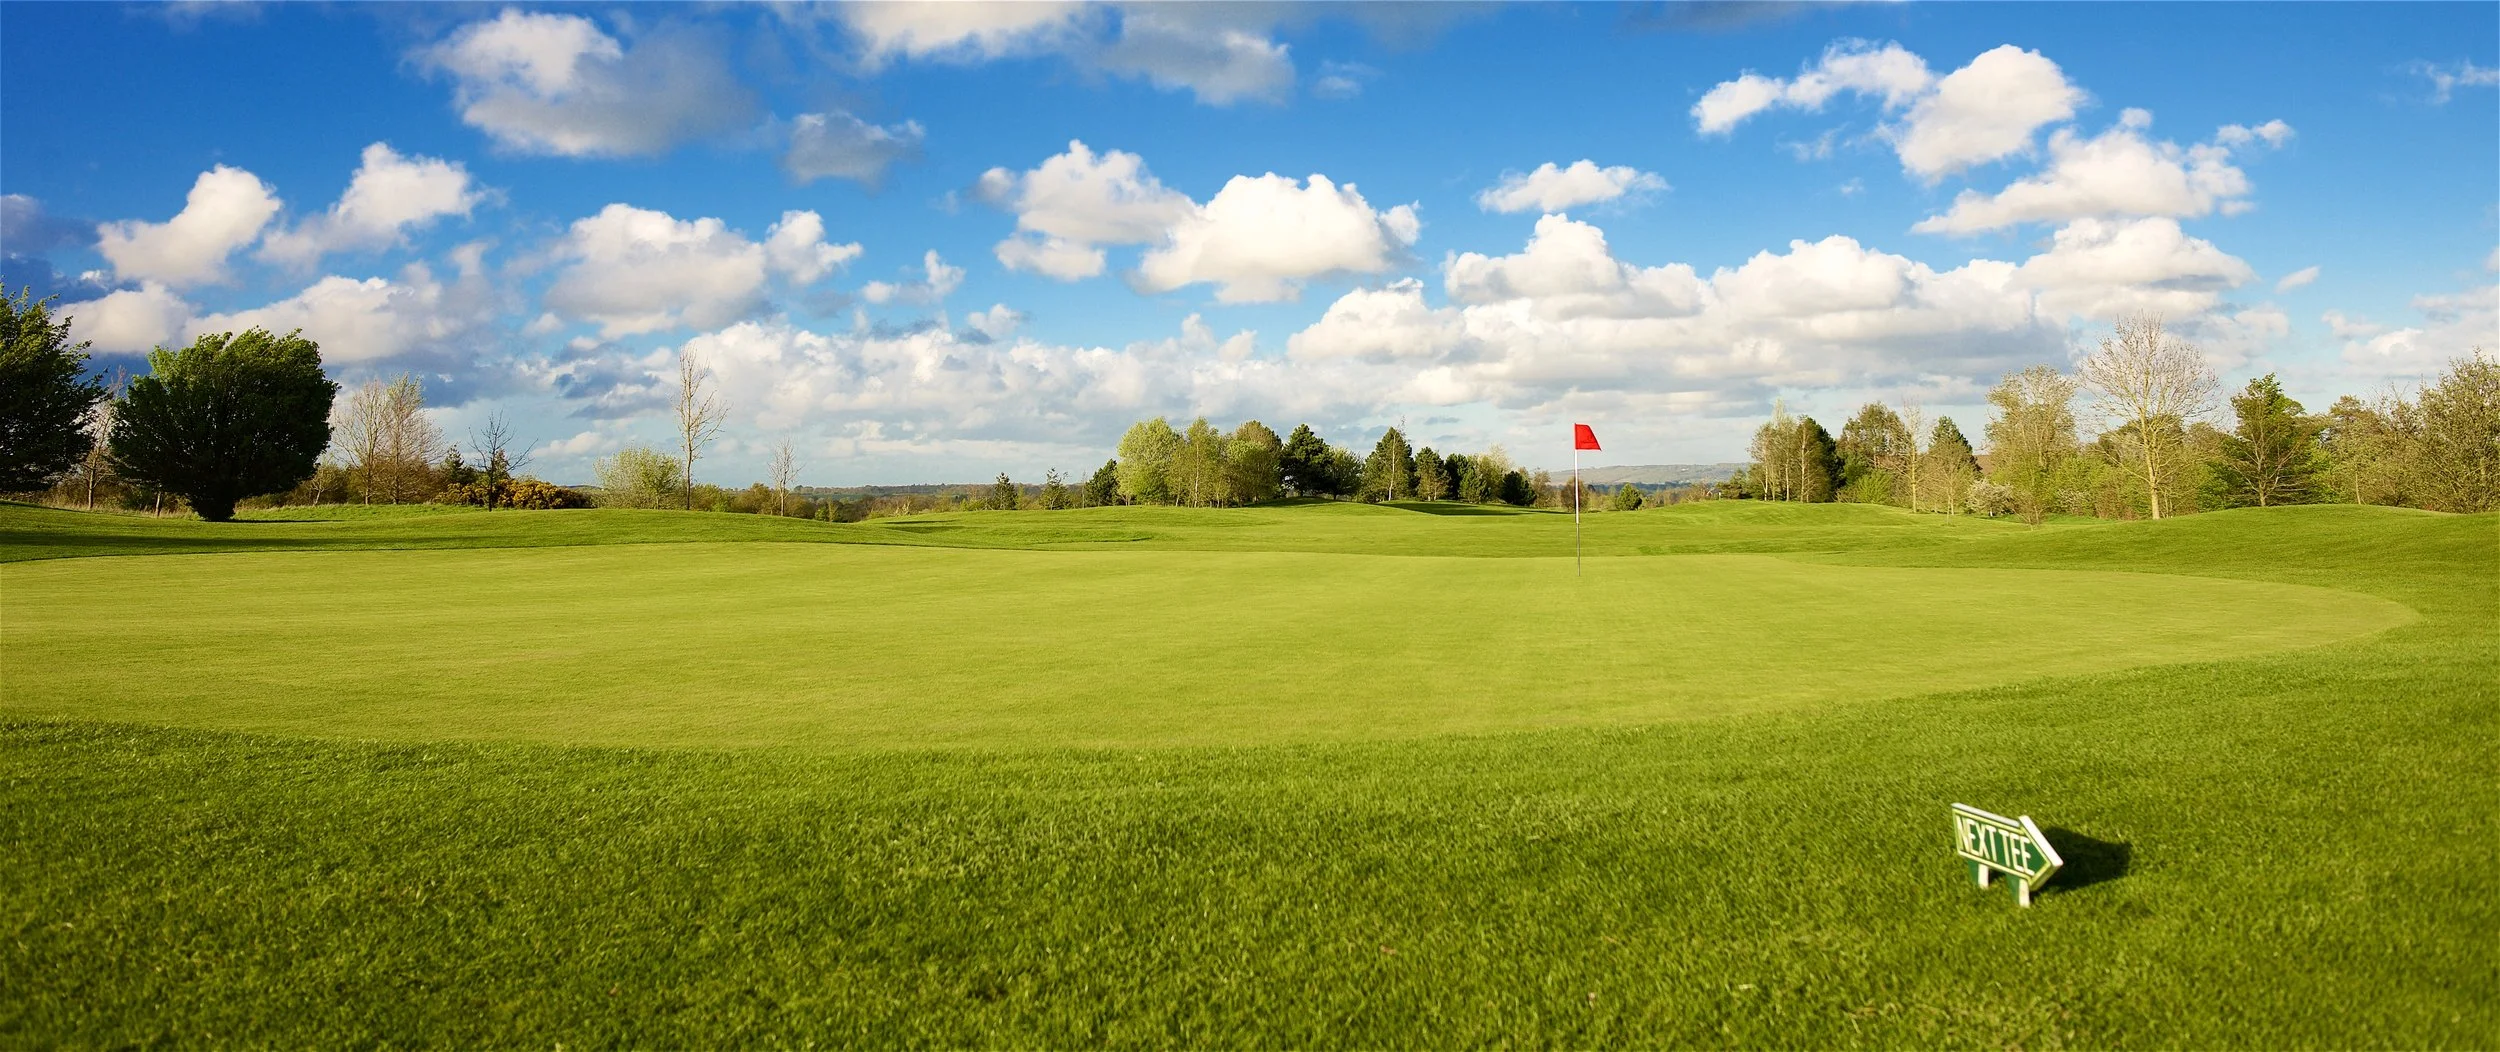
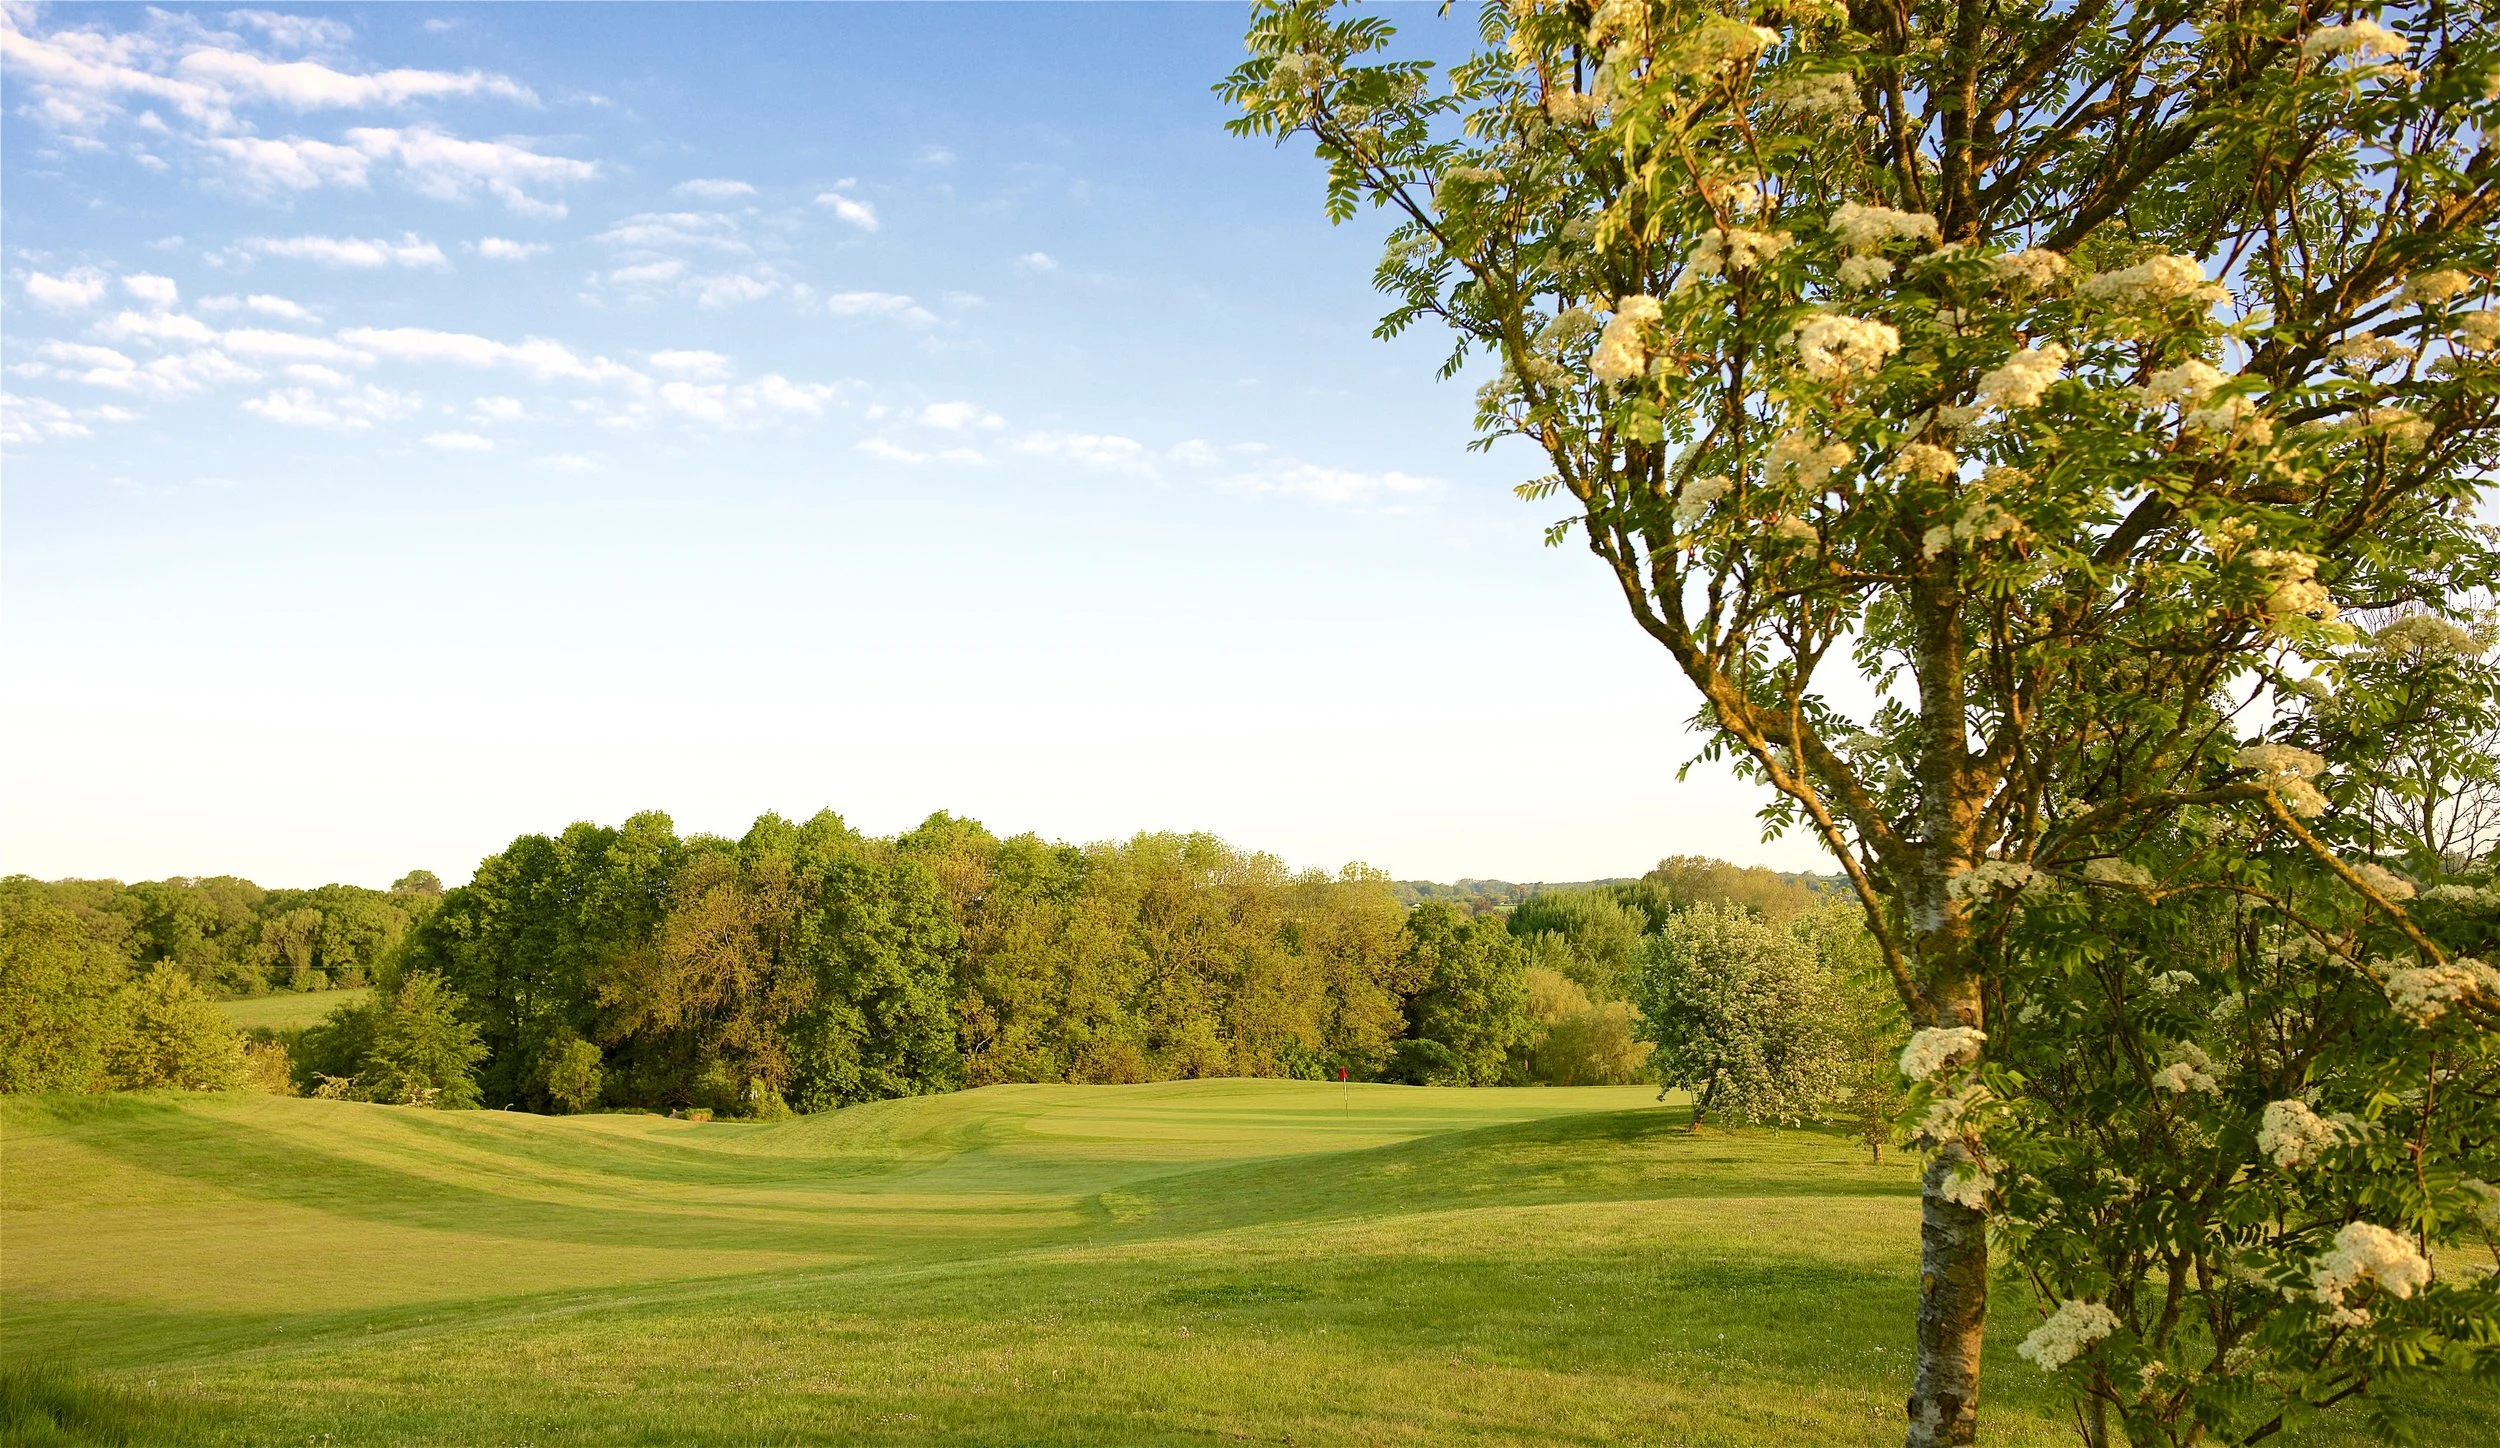
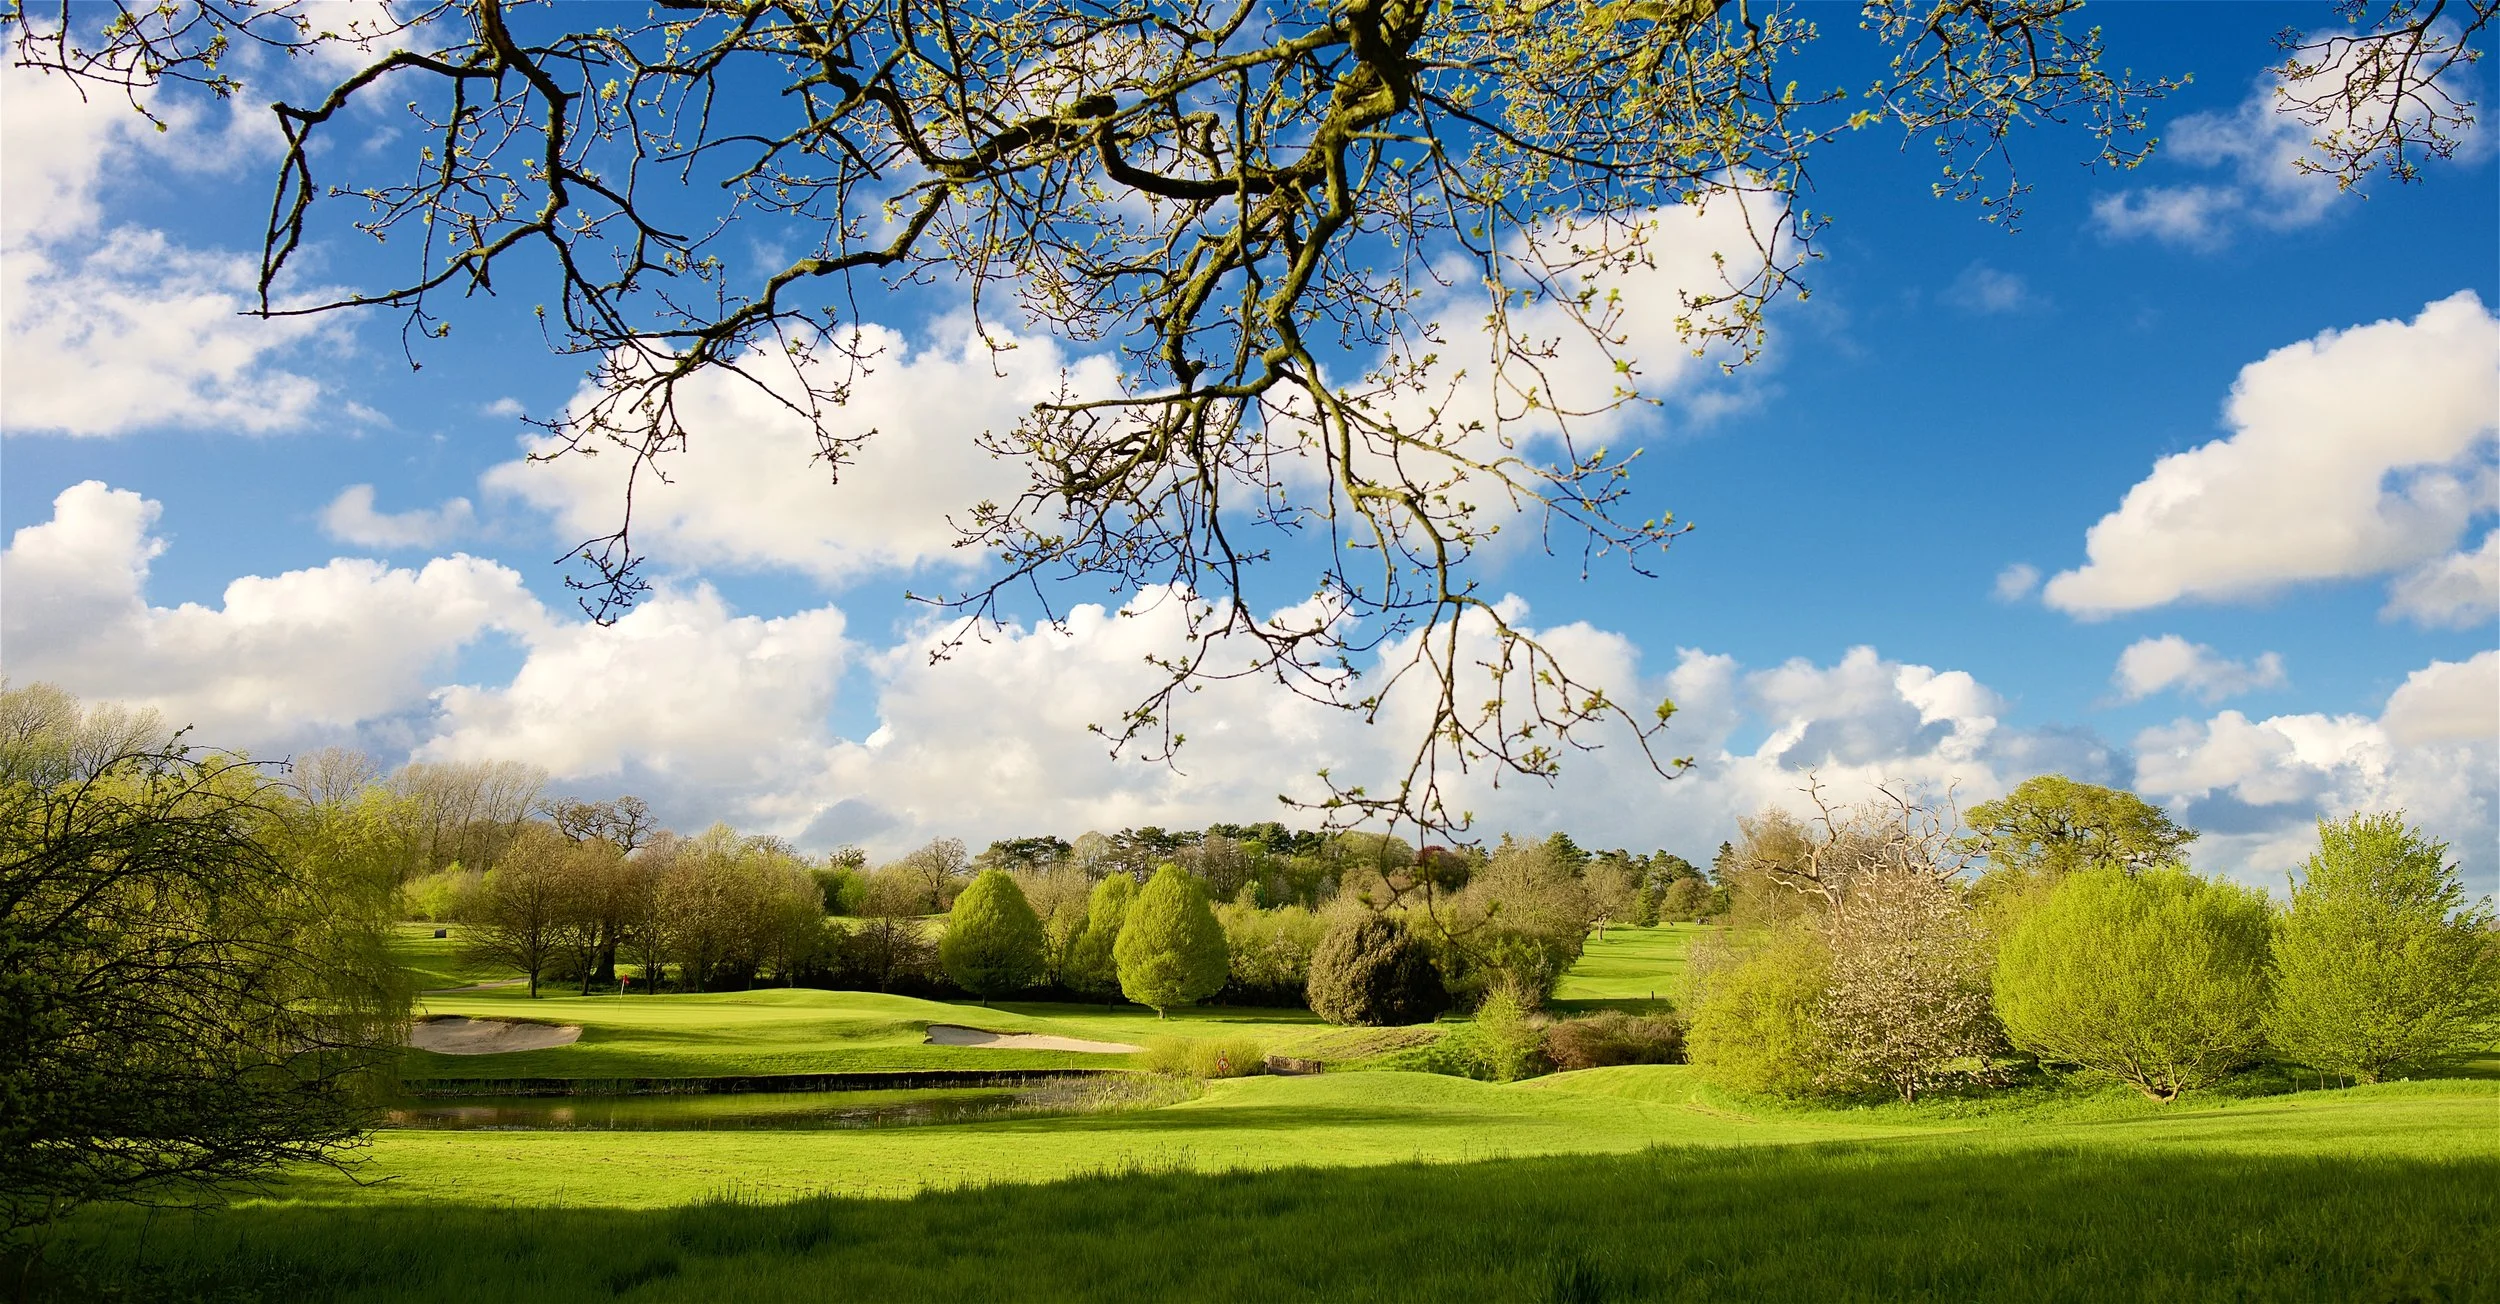
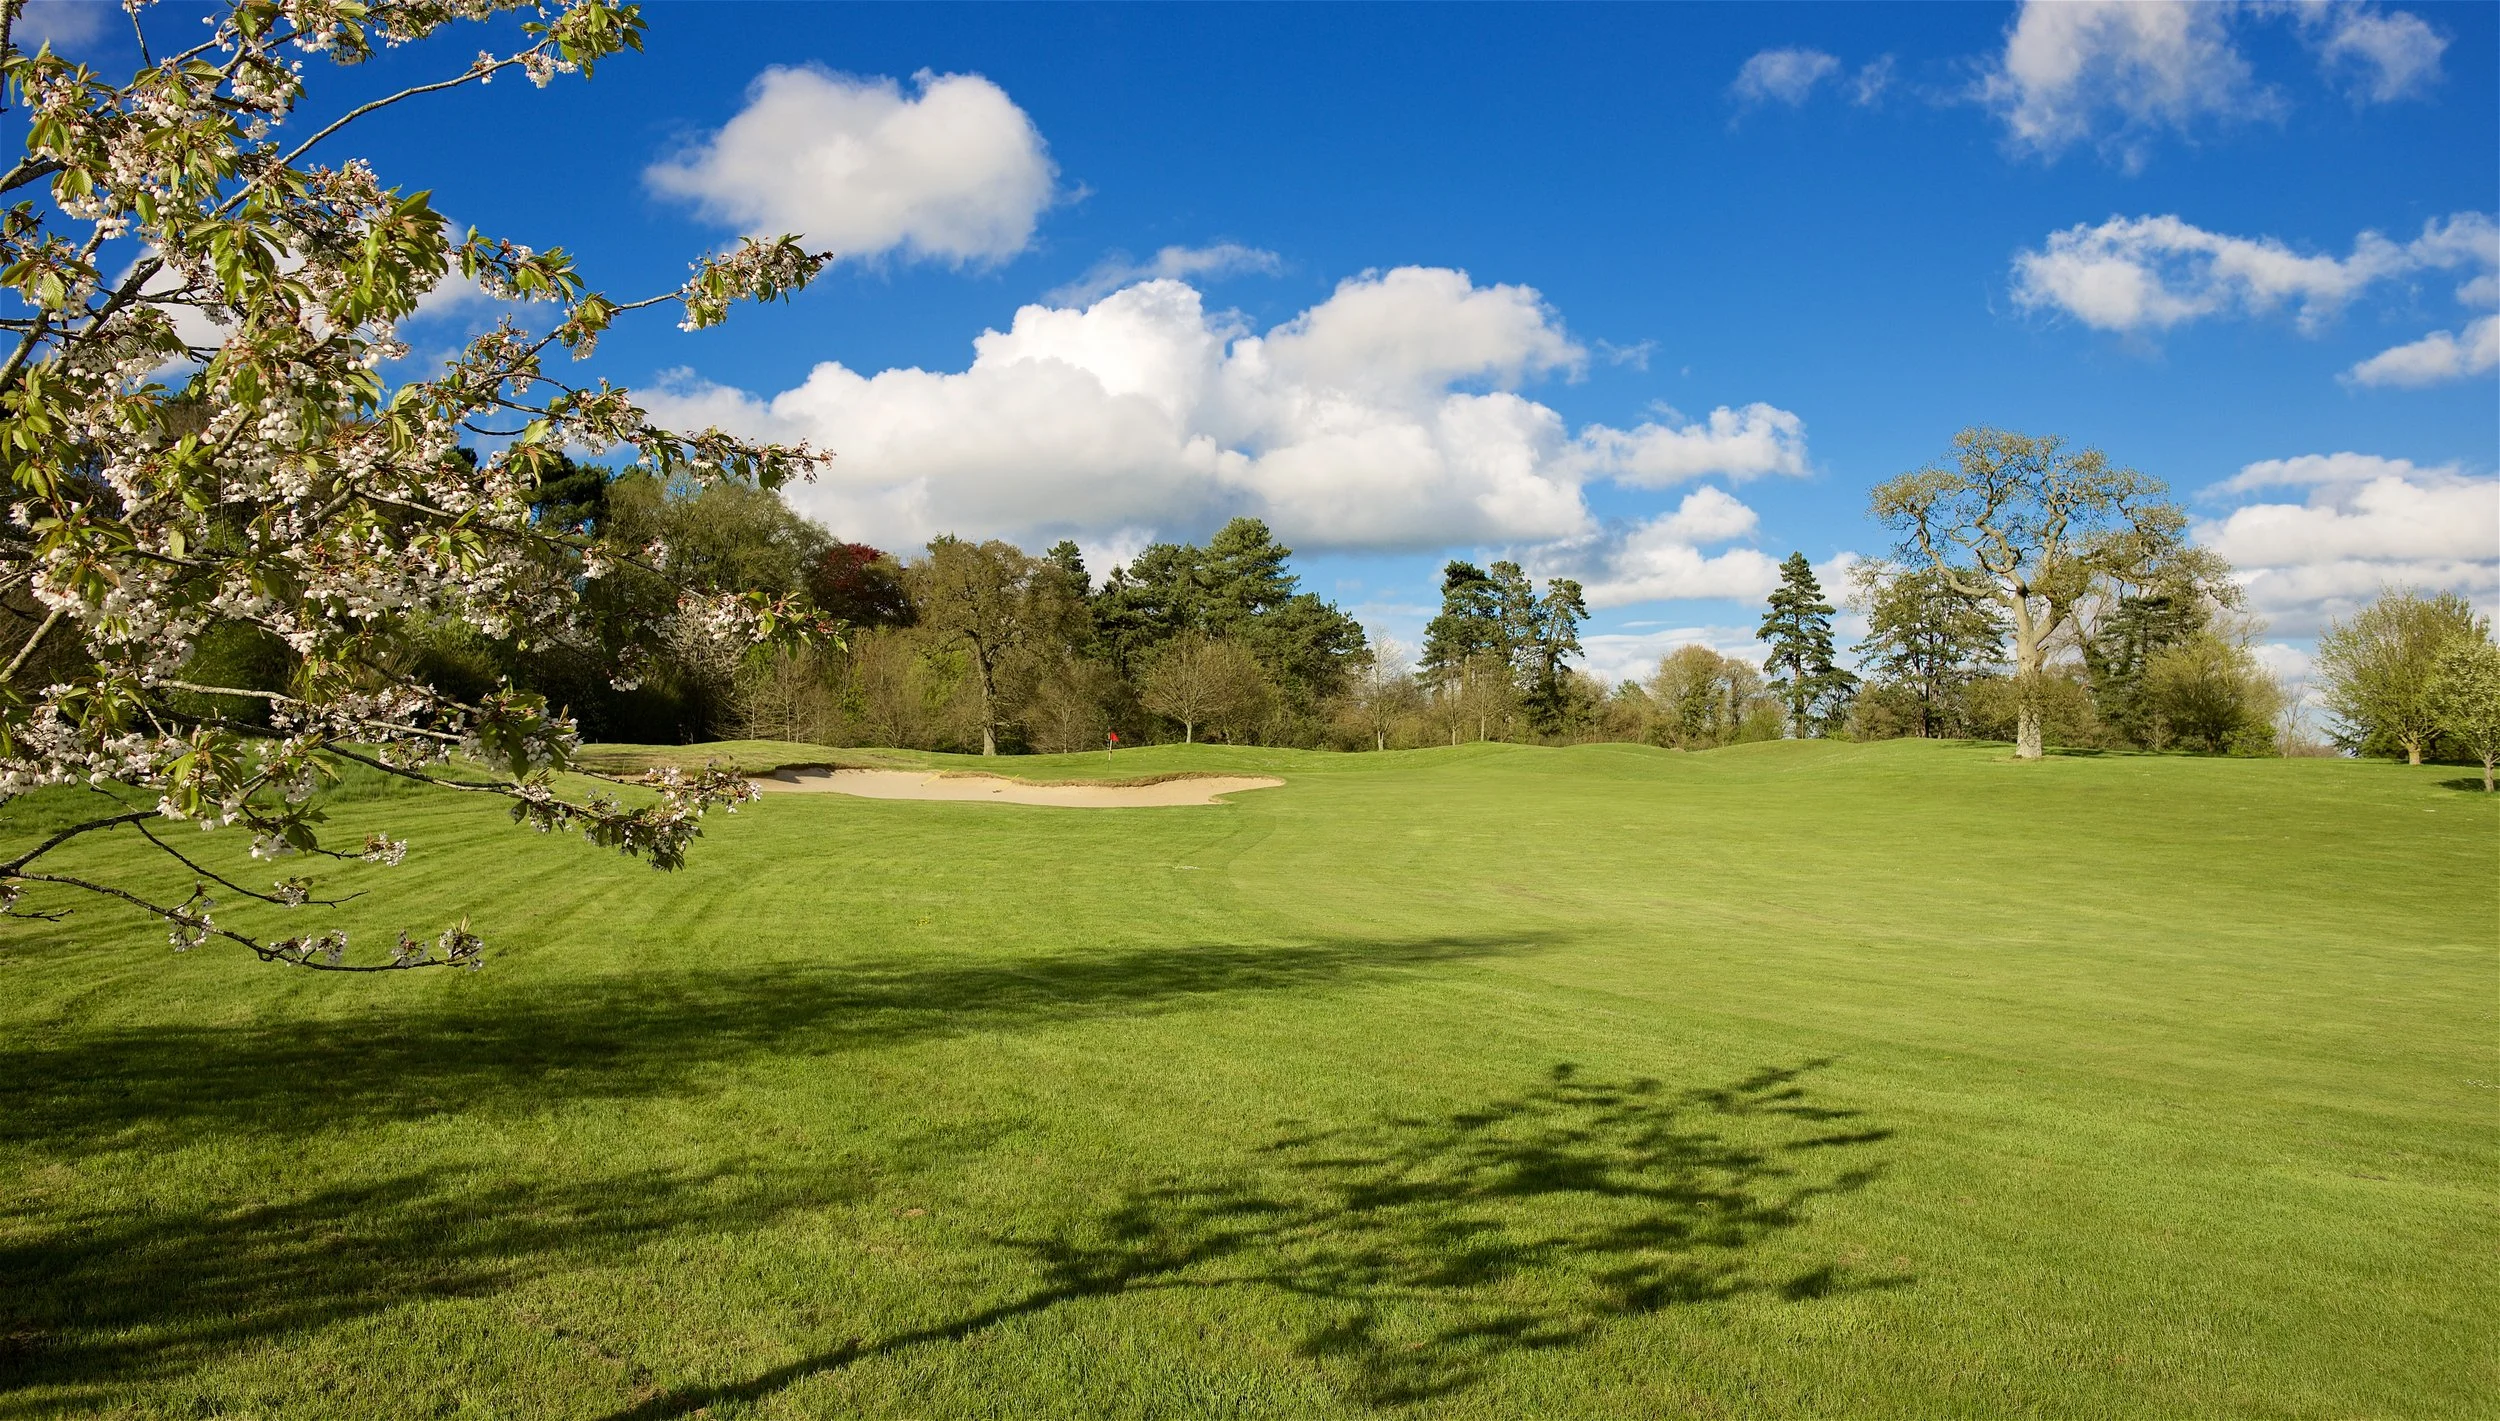
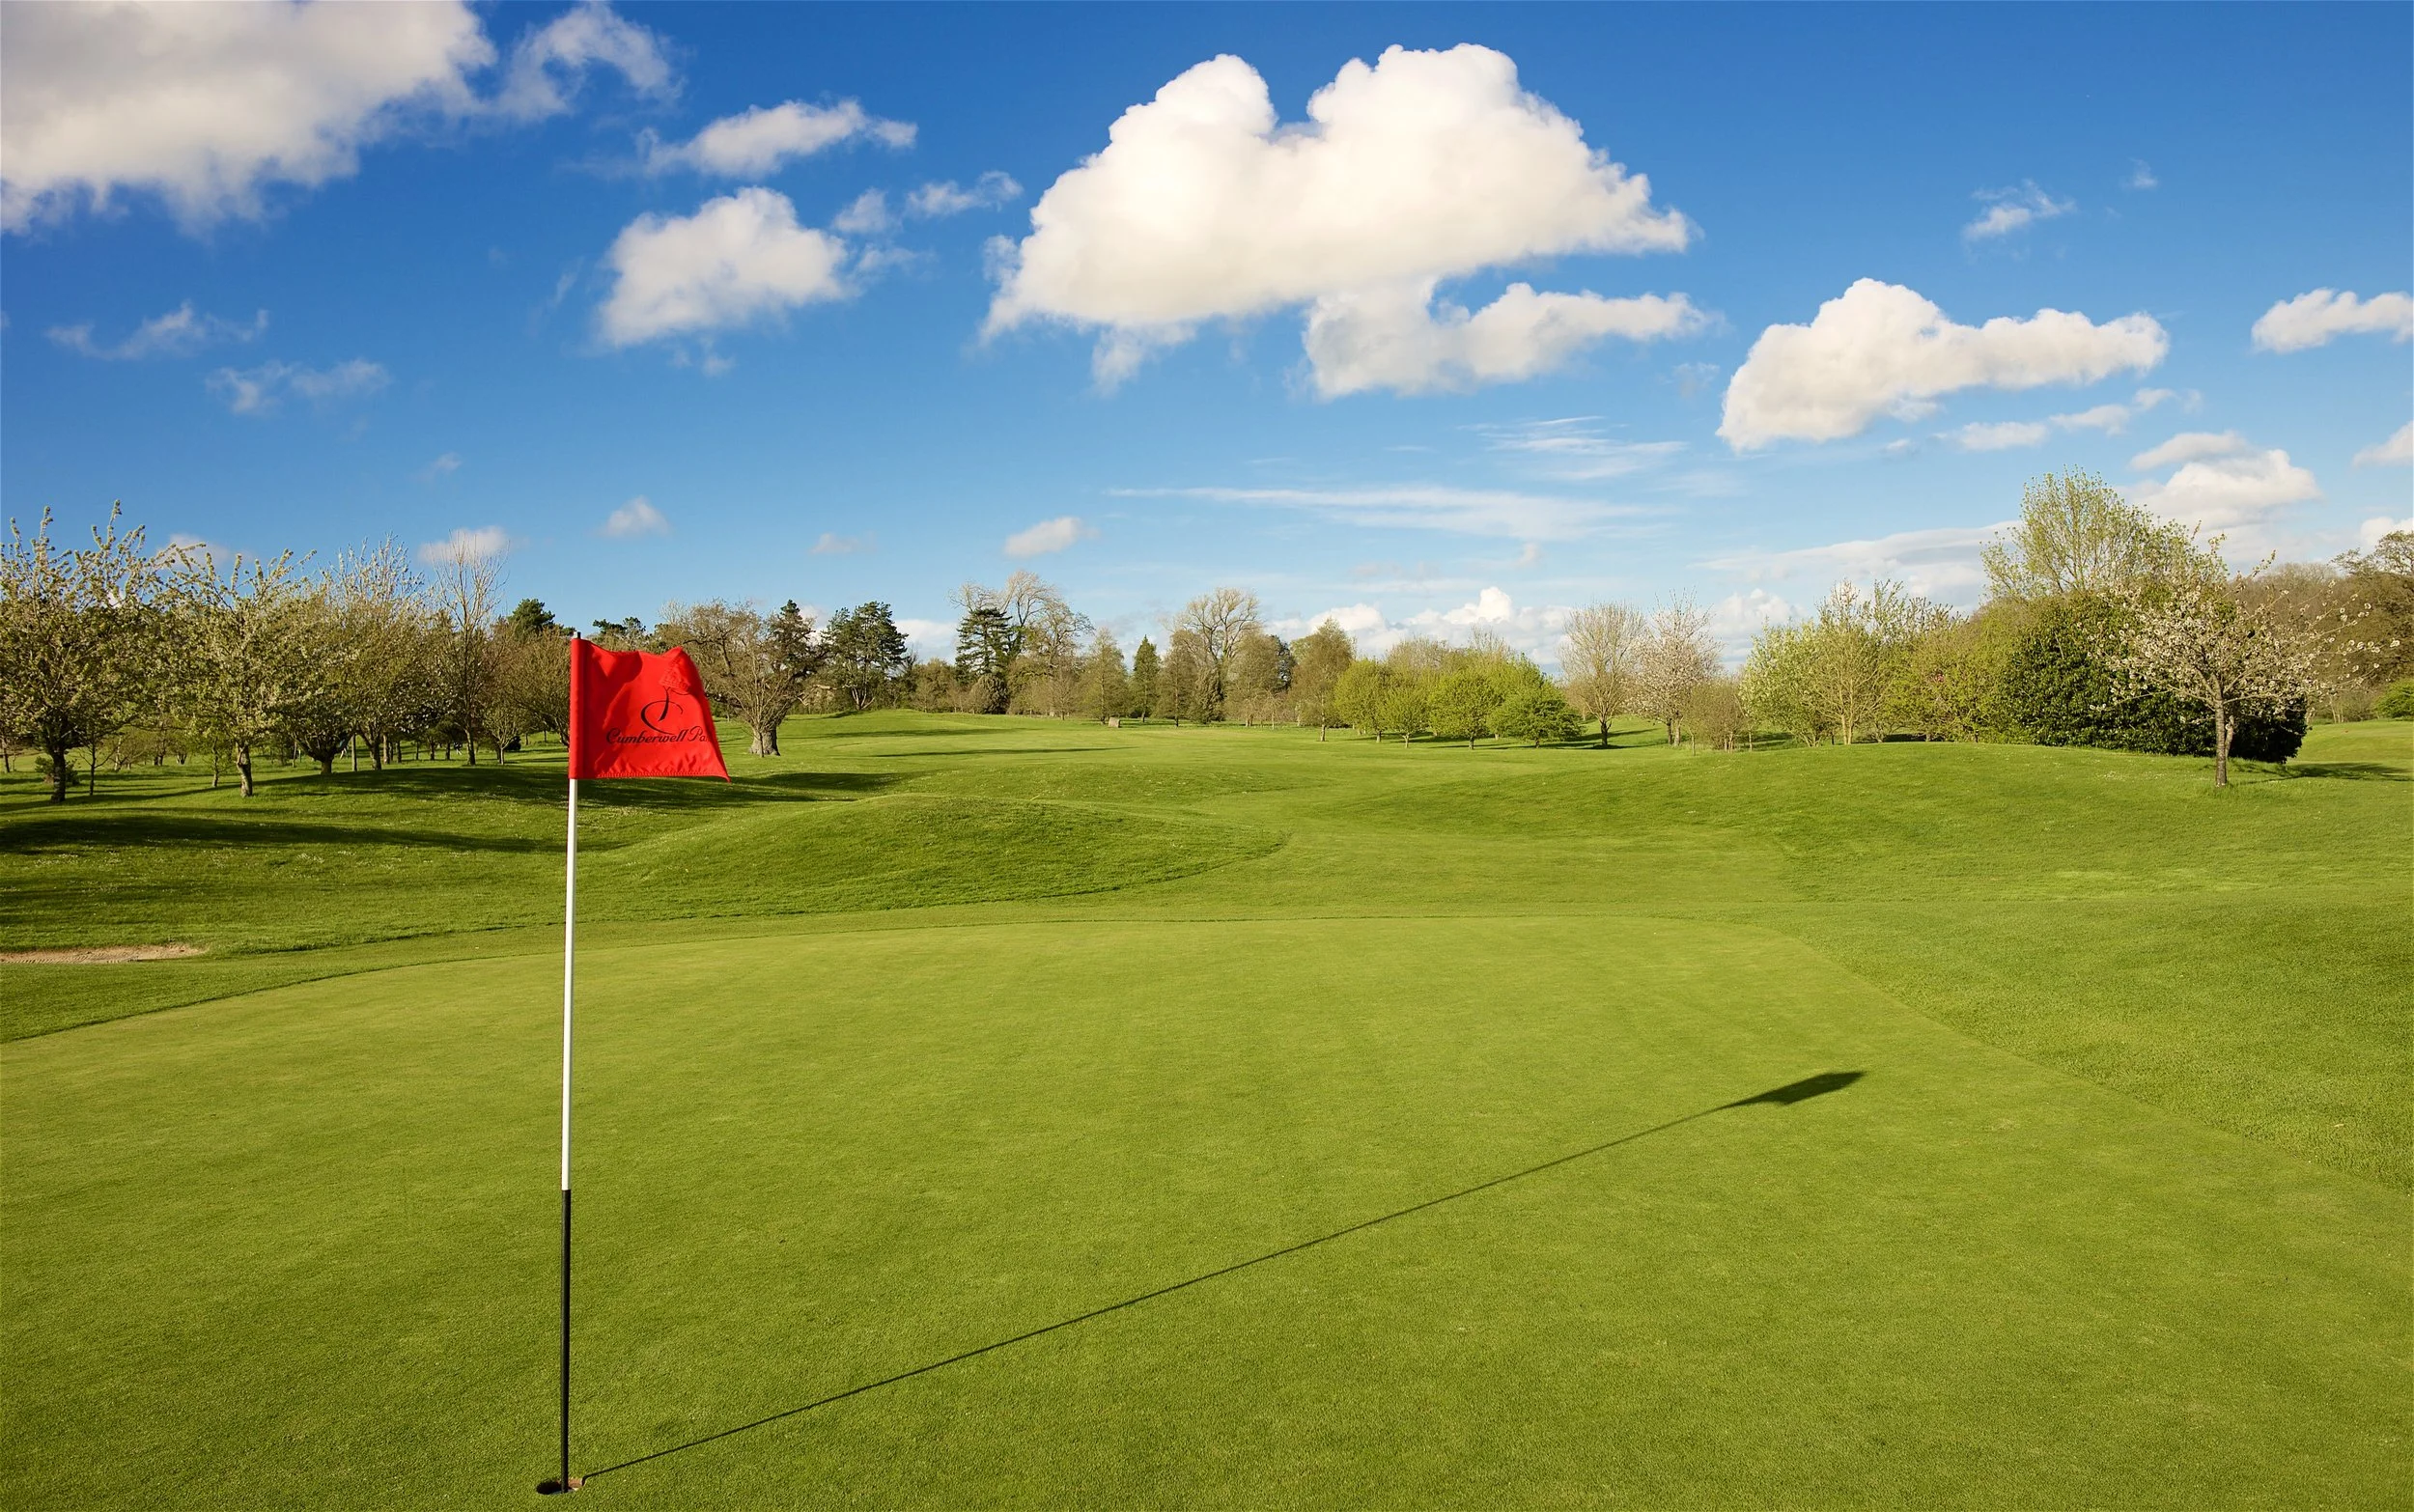
Red Course
Undulating parkland with flowing streams and rolling countryside.
1st Hole
Par 4
Stroke Index: Ladies 5, Men 9
The 1st hole is a good length par four played into the prevailing wind. A strong drive down the left side will open up the green for your second (but beware of the out of bounds on the left). There is plenty of room up the right but the offset green will be hard to find from that side.
Tees and Yards
Black: 340 yards
Purple: 482 yards
White: 403 yards
Green: 410 yards
Pro Advice
A good start is always important so remember, arrive early and spend 15 minutes on the range before you set up the 1st tee.
2nd Hole
Par 4
Stroke Index: Ladies 9, Men 5
The 2nd hole is another long par 4 usually played with a left to right wind. A solid drive should set up a long or medium iron second. There are no greenside bunkers, but a diagonal swale running along the right side of the green can throw poorly placed shots offline. Get a par here and you've earned it.
Tees and Yards
Black: 363 yards
Purple: 433 yards
White: 450 yards
Green: 456 yards
Pro Advice
A tough start to any round, but do not panic. Even if you drop a couple early on, there are plenty of opportunities to get your score back on track.
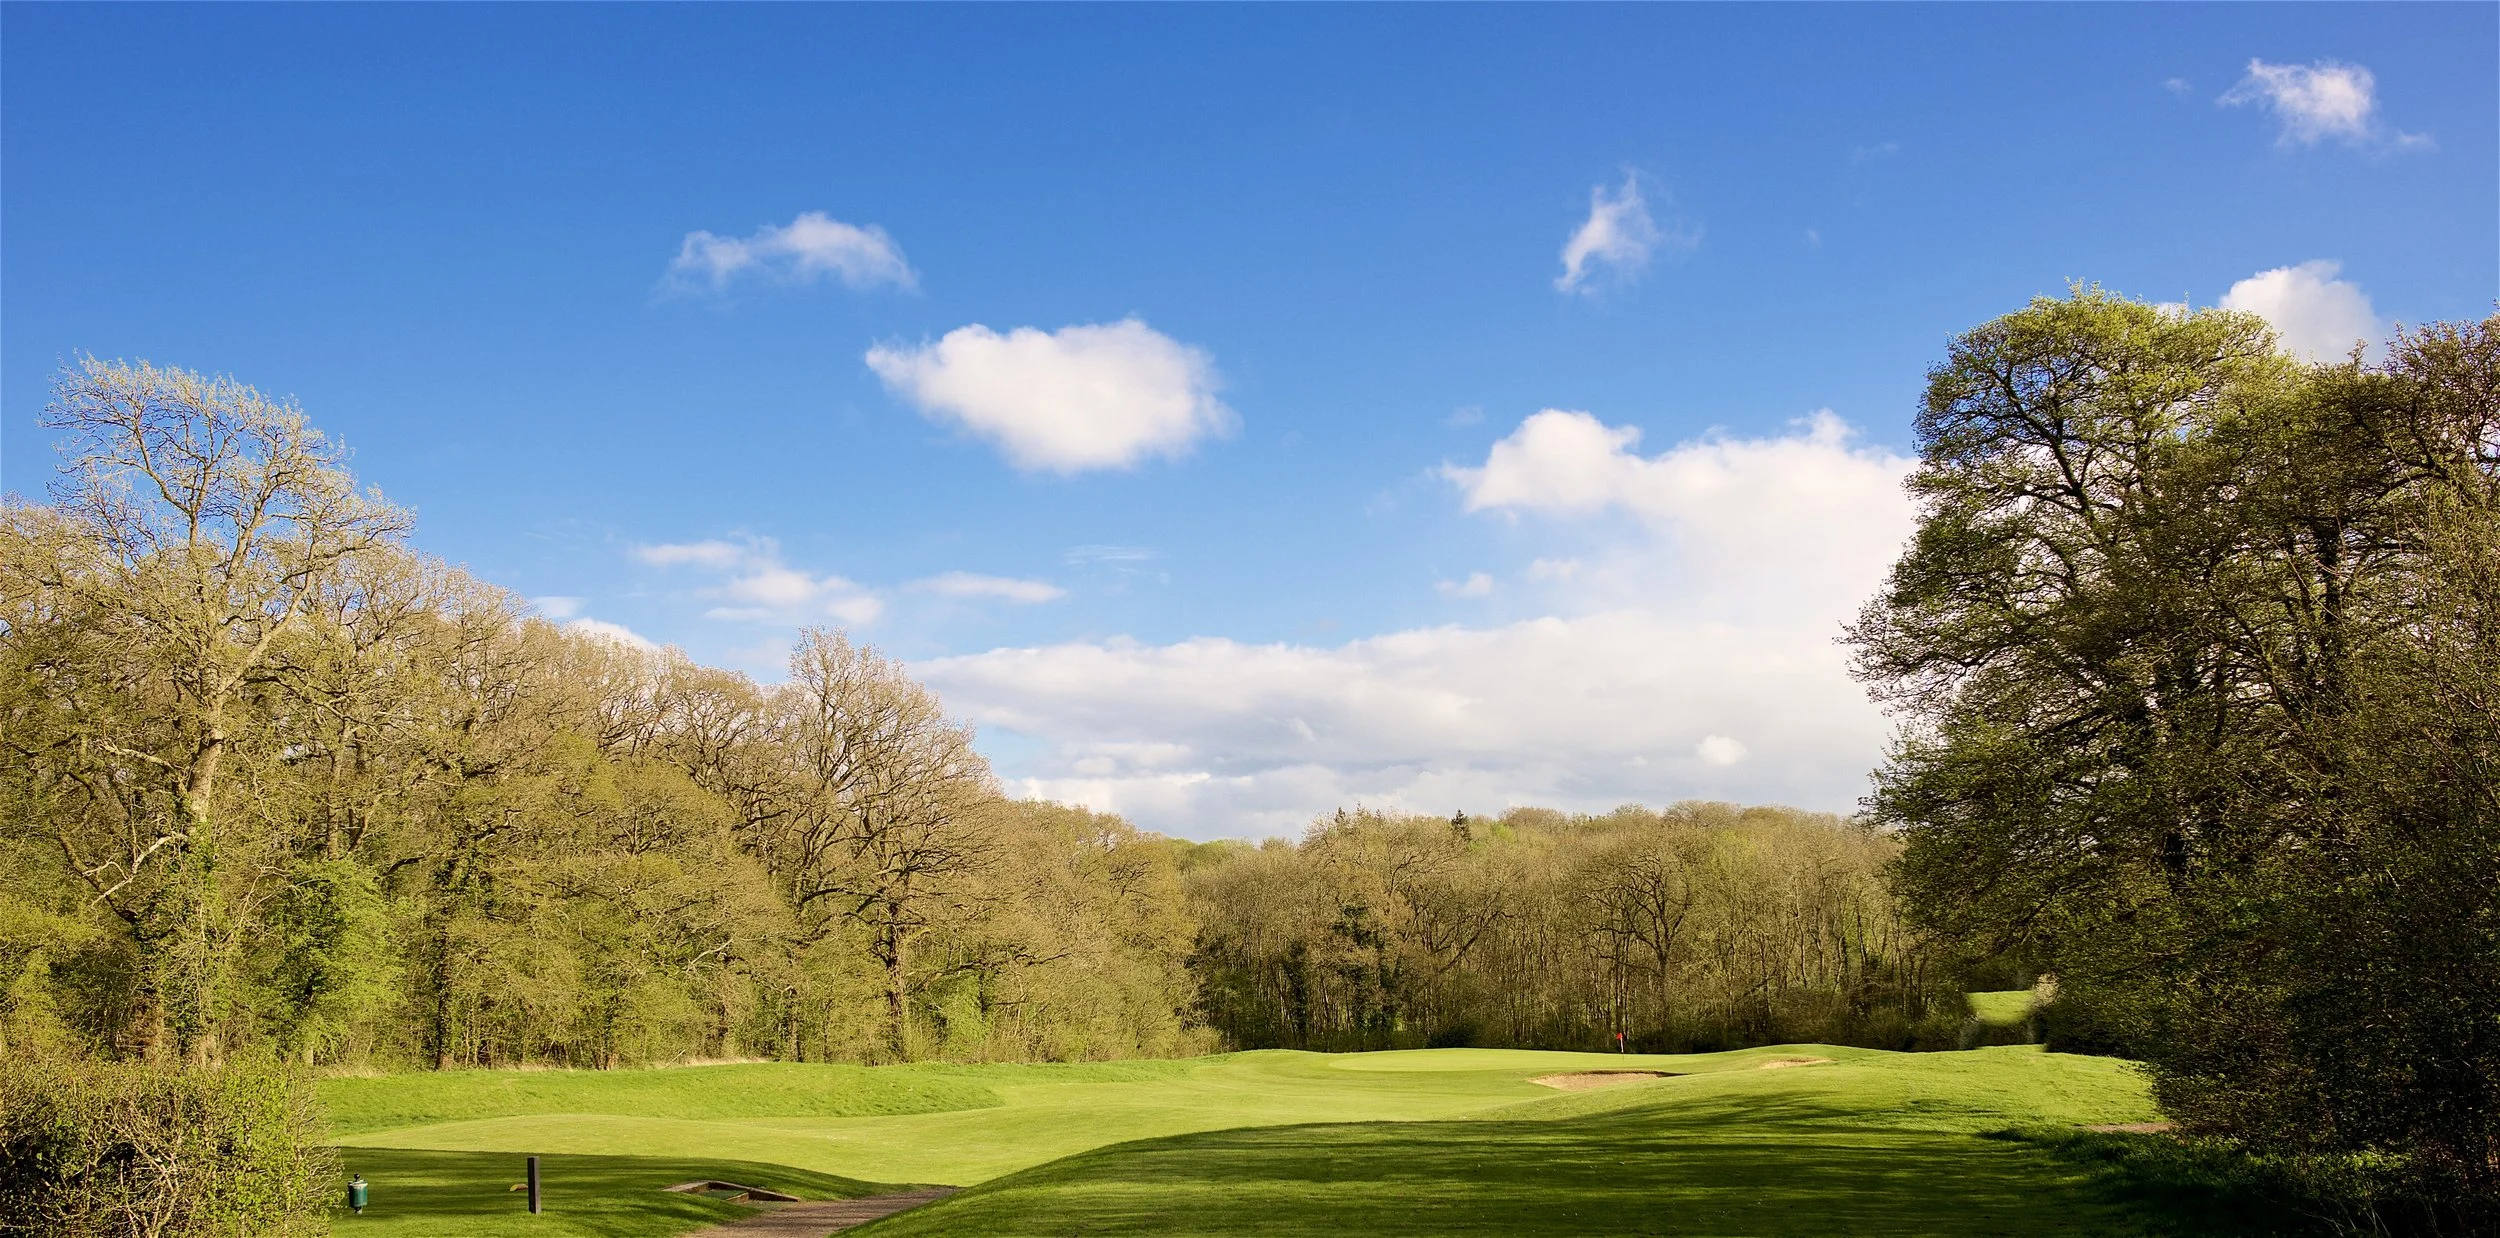
3rd Hole
Par 3
Stroke Index: Ladies 15, Men 17
The 3rd hole is the first of the excellent par threes at Cumberwell. From the back tee it can be quite formidable playing into the wind but the forward tees offer a chance of a birdie. Clubbing is the key as anything short can role back down the slope and into the front bunkers, or worse still, the pond that fronts the picturesque hole. Beware the wind that comes in from the left as the tee is sheltered by a copse of trees.
Tees and Yards
Black: 124 yards
Yellow: 143 yards
Purple: 162 yards
Green: 162 yards
Pro Advice
If the pin is set on the edge, just play for the centre. Getting too greedy and missing the target can leave some tricky short game challenges on this plateau green.
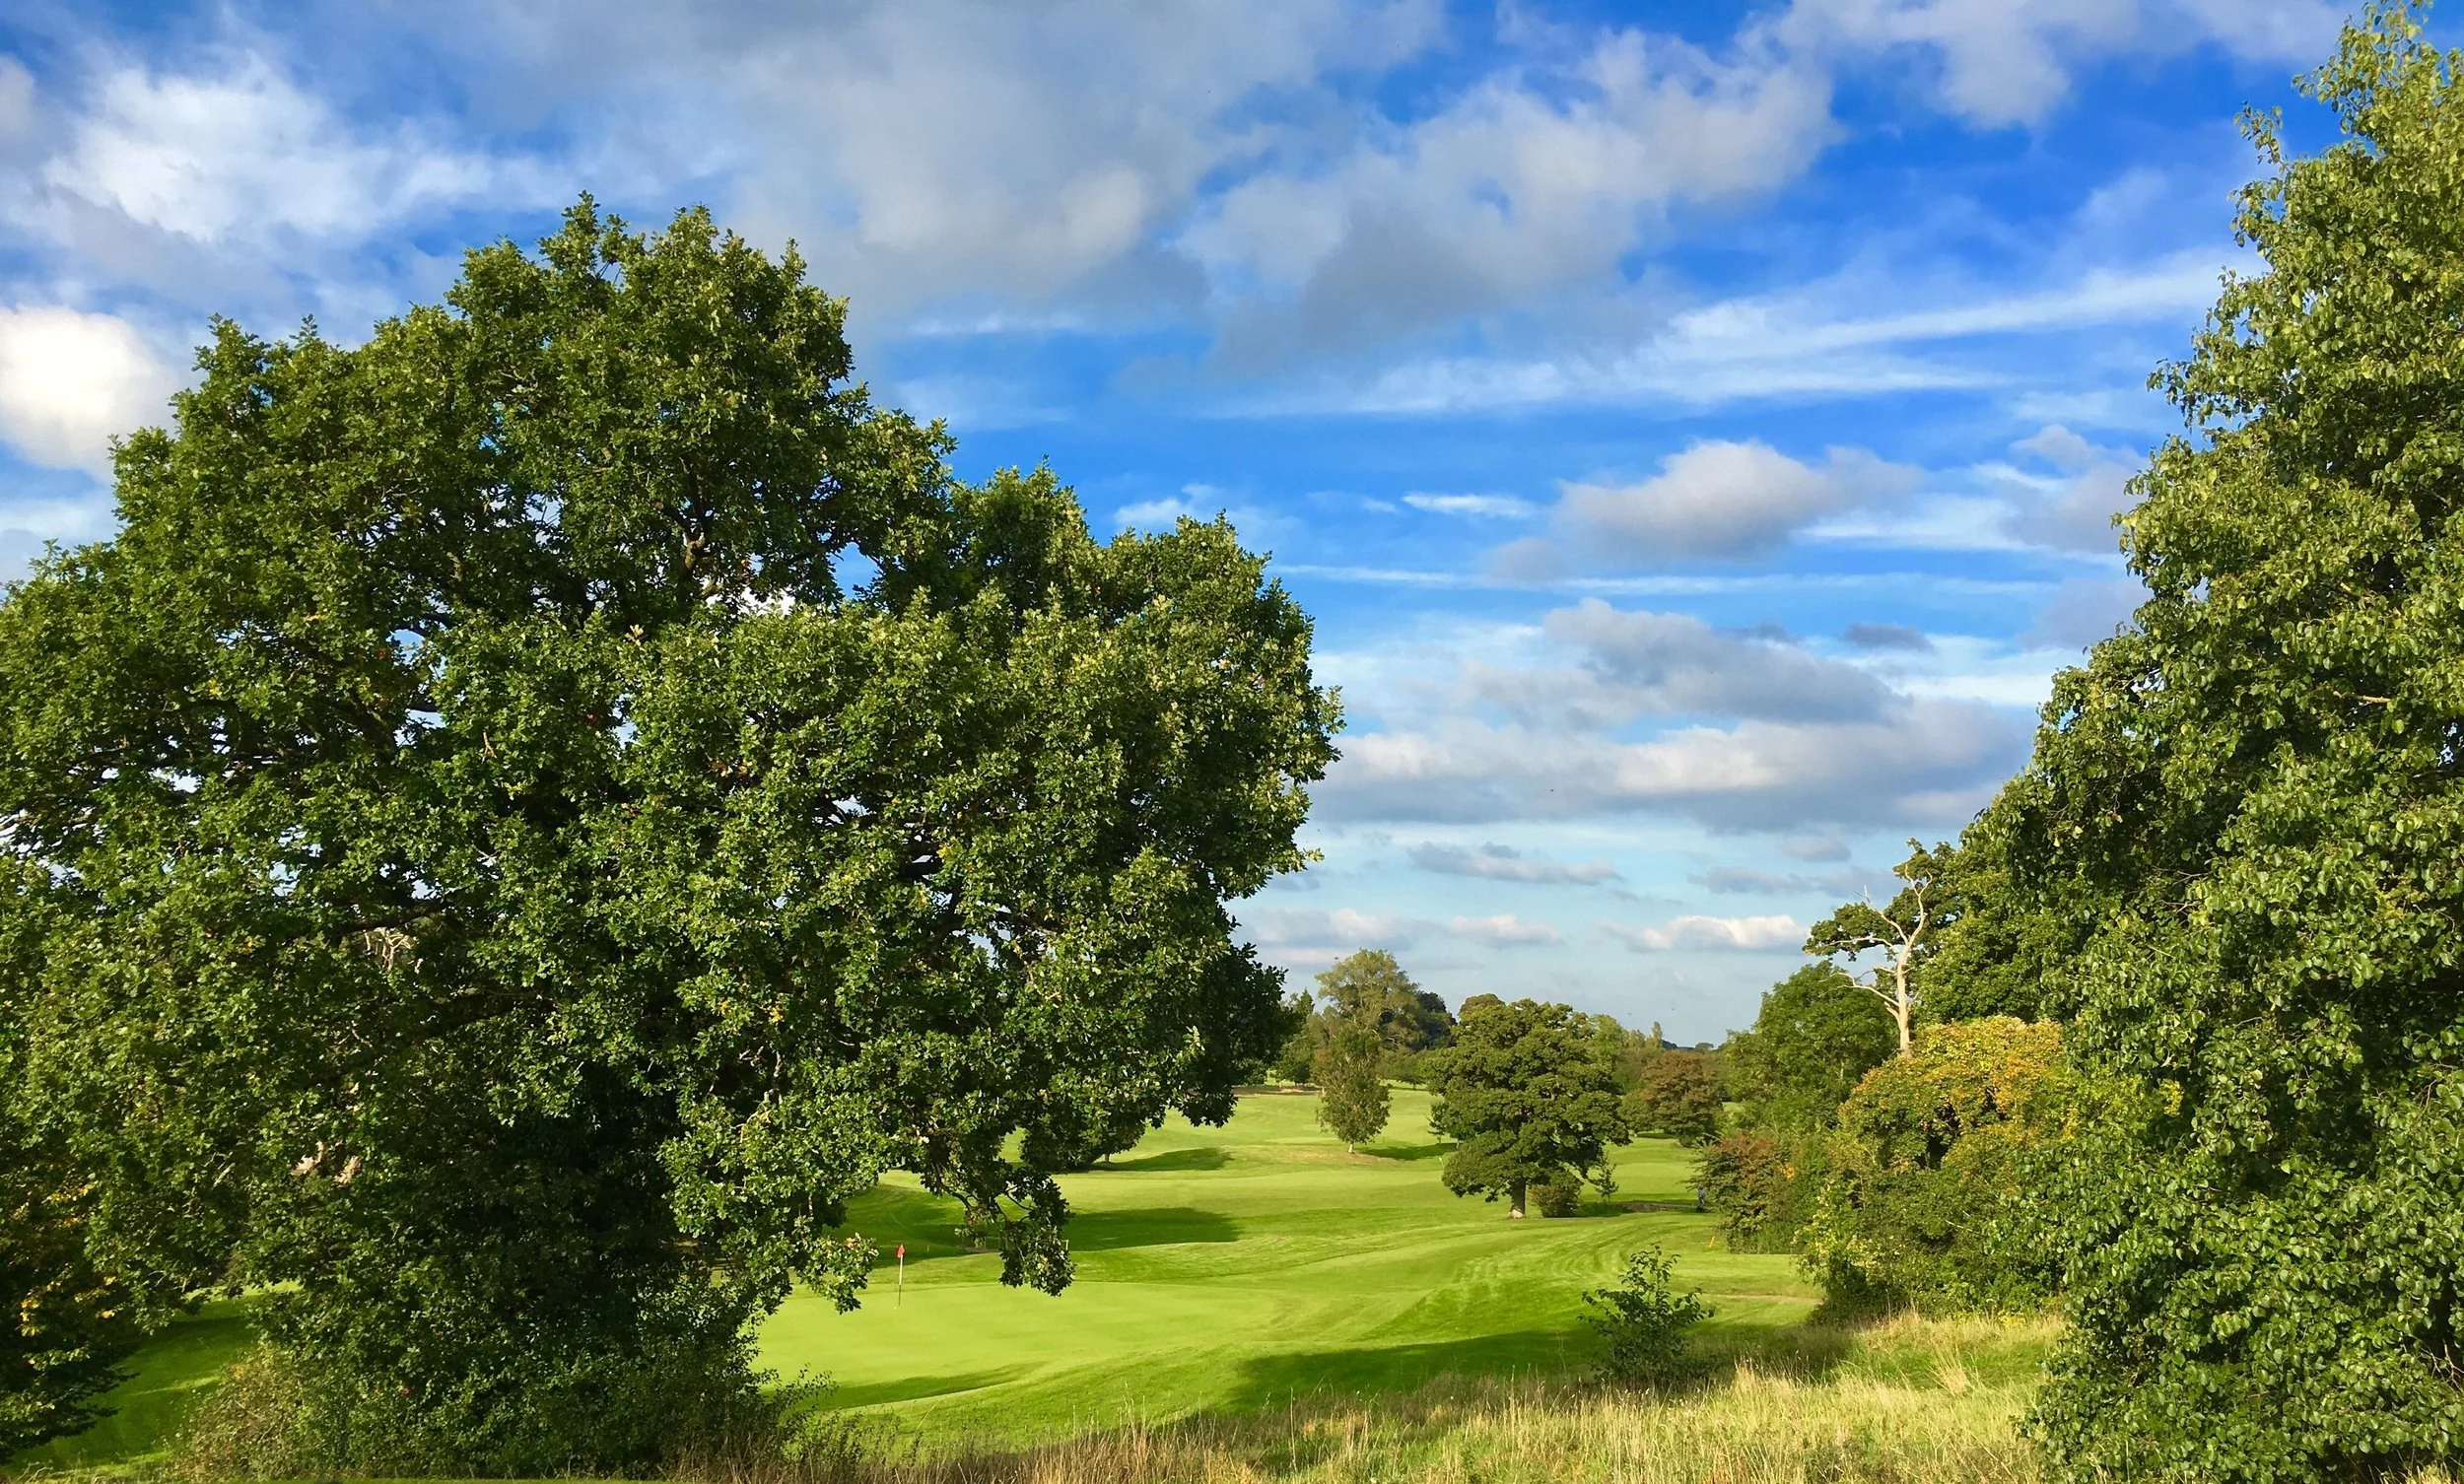
4th Hole
Par 4
Stroke Index: Ladies 7, Men 11
The 4th hole can be a bit of a breather as it's usually played down wind. A good line, if you are brave enough, is over the sleeper faced bunker on the left with a touch of fade. If not, you can hit it further right into the generous fairway but you may get blocked out by the old oak tree and large mound that protect the right side of the green.
Tees and Yards
Black: 334 yards
Purple: 370 yards
White: 382 yards
Green: 411 yards
Pro Advice
If you do the end up on the right of the fairway, you can use the greenside mounding to feed your second close to the pin.
5th Hole
Par 4
Stroke Index: Ladies 13, Men 13
The 5th hole is a superb shot par four with many tee shot options. Do you have a go at the green, or lay-up shot of the three bunkers? Or do you try and thread one down the gap in the fairway between the bunkers and the deep rough and trees that protect the left side of the hole? Get it right and the birdie could be yours. Get it wrong and the bunkers and sloping green could present all sorts of problems.
Tees and Yards
Black: 281 yards
Purple: 315 yards
White: 339 yards
Green: 361 yards
Pro Advice
The 5th green has some severe slopes to contend with. When the green is quick, which it often is, you will need to leave yourself in an uphill or flat putt, so take extra care with your clubbing.
6th Hole
Par 4
Stroke Index: Ladies 11, Men 3
From the back tees this is a long hole, but from the regular tees it is a bit more forgiving. There are no bunkers on the hole but the mounding on either side of the fairway can kick your ball into a lot of trouble if you get a bit wayward.
Tees and Yards
Black: 324 yards
Purple: 387 yards
White: 398 yards
Green: 443 yards

Pro Advice
The 6th green is very long so it is important to get the yardage and clubbing correct before you play your second. A straight shot doesn't always guarantee a simple putt. In fact you could be left with a sixty footer if you are not careful.
7th Hole
Par 3
Stroke Index: Ladies 17, Men 15
Like many of the short holes at Cumberwell, this one plays down to a green set in the ancient Hayswood. Clubbing is always the issue here so check the yardage and go with the facts. Anything long can hit the bank at the back and disappear into oblivion. It can be a nice little birdie or a card wrecker.
Tees and Yards
Black: 126 yards
Purple: 129 yards
White: 153 yards
Green: 179 yards
Pro Advice
The 5th green has some severe slopes to contend with. When the green is quick, which it often is, you will need to leave yourself in an uphill or flat putt, so take extra care with your clubbing.
8th Hole
Par 4
Stroke Index: Ladies 1, Men 1
One of the best holes you'll ever come across. The stream down the left side tempts people to block it right, but that leaves a very long and testing approach from the rough. Play boldly straight down the centre and the hole becomes much more forgiving. A small well protected green is found the other side of the stream on this delightful dogleg.
Tees and Yards
Black: 369 yards
Purple: 392 yards
White: 403 yards
Green: 406 yards
Pro Advice
See the two mounds at the end of the fairway? Aim at the one on the right and kill it. The slope to the fairway should get your ball in perfect position.
9th Hole
Par 5
Stroke Index: Ladies 3, Men 7
Just what you need at the end of a steep climb to the 9th tee. A hole measuring 606 yards. But don't get too distressed, the fairway is very generous and is usually played down wind. A drive up the right side with draw can sometimes get a helpful kick from the bank allowing you to set up a fairly short third shot.
Tees and Yards
Black: 507 yards
Purple: 559 yards
White: 591 yards
Green: 600 yards

Pro Advice
This is a fiendish green design; the only one that runs away from you. Sometimes it's wise to leave yourself a full third shot as a little chip can be extremely difficult to control down the green especially in the summer months when the greens are slick and firm.